Aquariums
Water quality is the most important factor in taking care of your axolotl.
Setting up an axolotl aquarium
Here’s a list of basic supplies you need to get started. Then, you can explore how to cycle your aquarium and continue to check and maintain the environment throughout your axolotl’s lifetime. Learn more on our FAQs page.
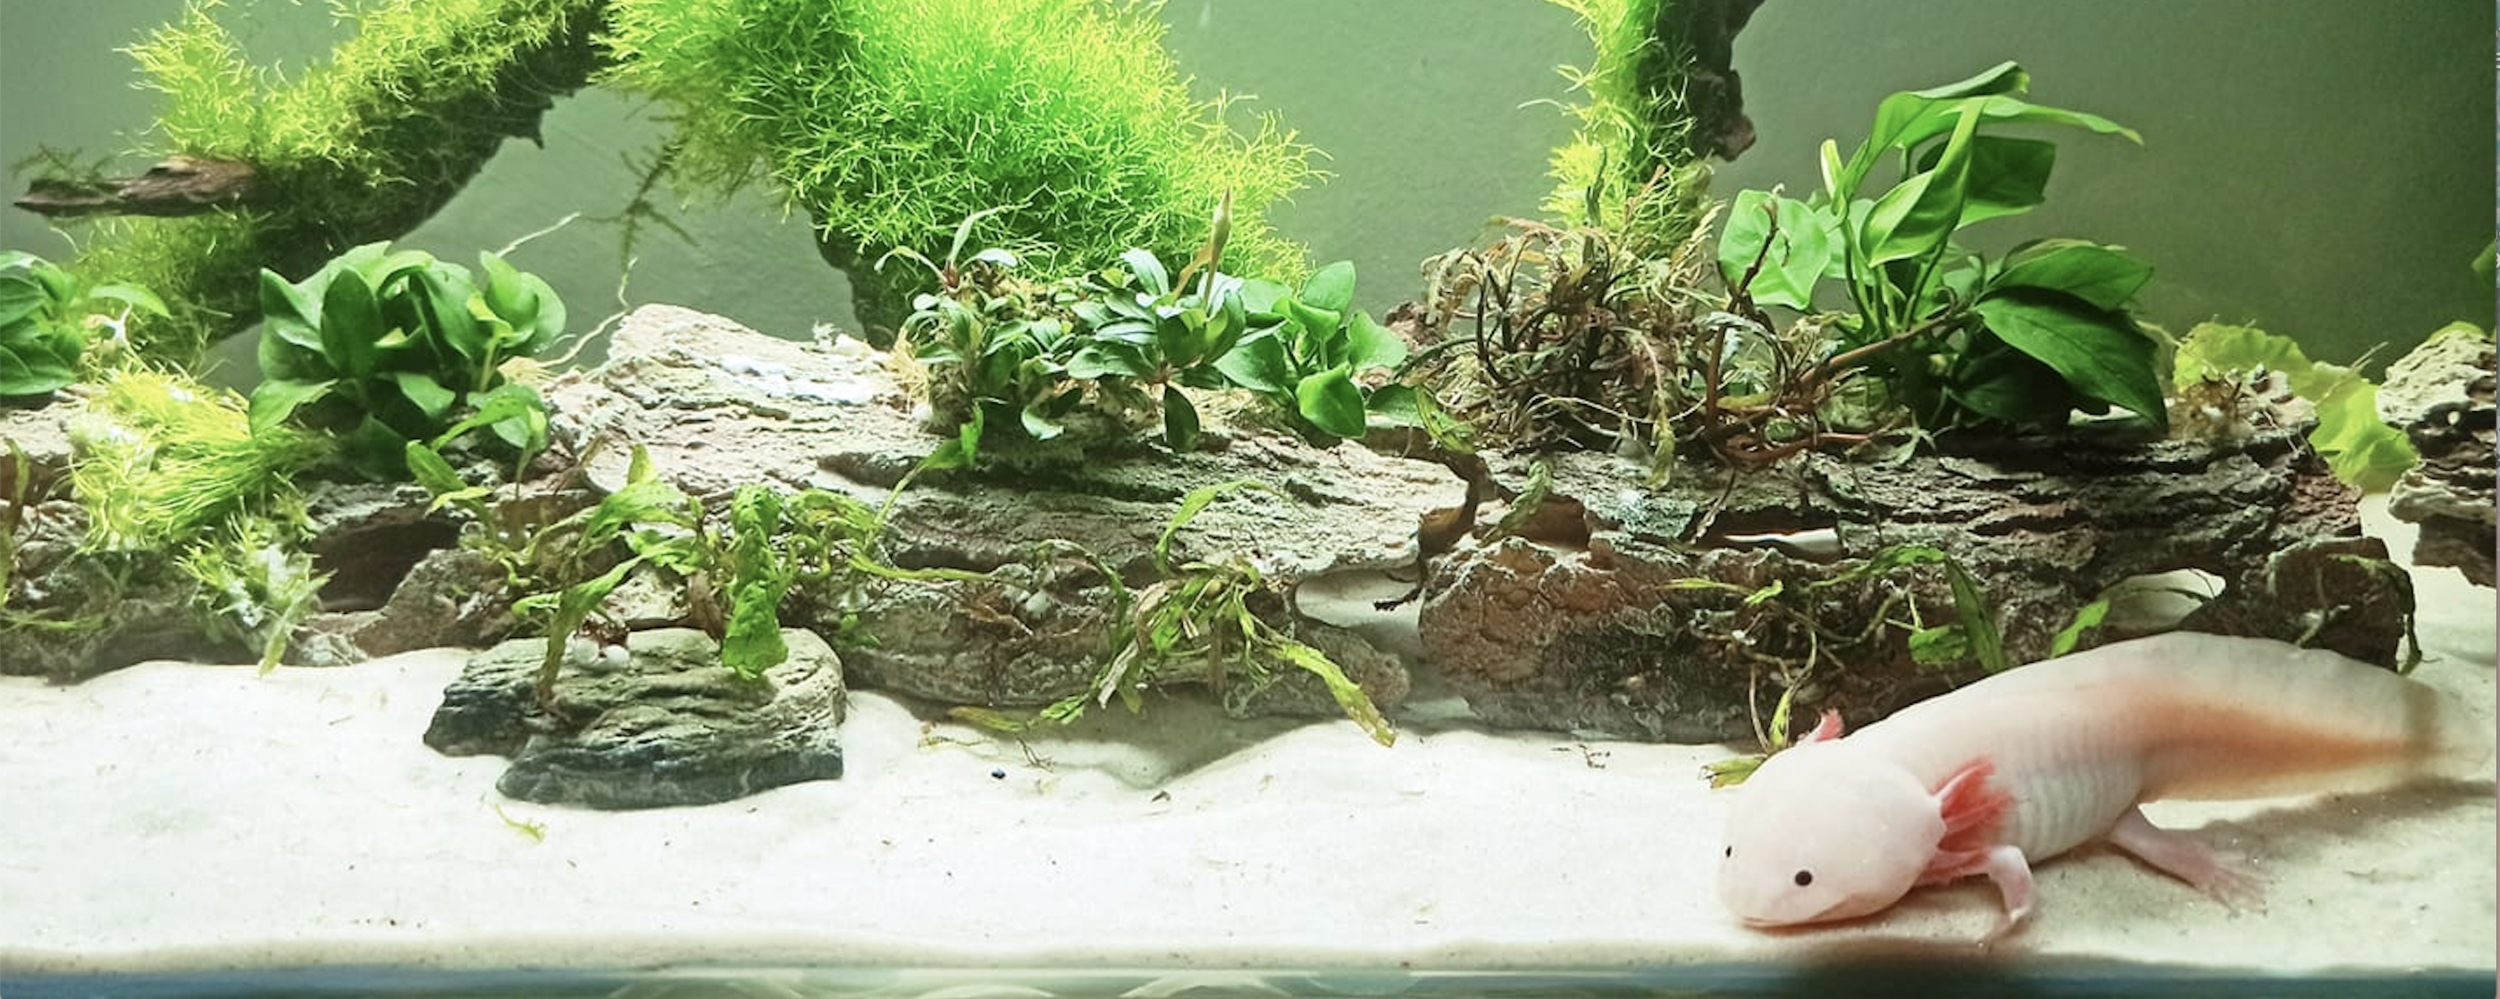
AQUARIUM - 20 gallon long or larger aquarium, if you have more than one axolotl you’ll need a minimum of 20 gallons per axolotl. Make sure to get a long aquarium that is not filled to the top so the axolotl can swim around vertically and easily get to the surface for air if needed. You also need a mesh top to keep the axolotl from jumping out.
WARNING: metal aquarium tops can rust, you need to coat them with clear Rustoleum to prevent rust.
FILTER - there are multiple kinds, recommend a two-barrel sponge filter with air pump, stop valve, and adjustable pressure valve. Place outflow tube above the water line, keep flow relatively low.
WARNING: some kinds of filters axolotls can accidentally get into, causing a lot of damage, that’s why sponge filters are recommended.
AIR STONE - air stone with air pump and stop valve (can use the same air pump as a filter with split tubing) to help add oxygen to water
SUBSTRATE - opt for no substrate, super fine sand, or tiles affixed with non-toxic aquarium glue. Axolotls usually like some sort of grip on the bottom of the tank, but sometimes small axolotls (under 3 inches) can have issues with ingesting sand, so feed them on a plate or wait to introduce sand into your aquarium.
WARNING: any kind of gravel or rocks as substrate can cause compaction and/or death.
LIGHTING - opt for no lighting or low lighting to use when feeding
FOOD DISH - using a shallow bowl or plate to drop food on helps with easy cleanup and a consistent place for the axolotl to find food
ACCESSORIES - add fake plants, aquatic plants, reptile hammocks, and hides such as mugs, terra cotta pots, PVC piping, or natural freshwater rock structures for an immersive environment, don’t clutter too much as it will be hard to find waste and the axolotl needs space to swim
THERMOMETER - there are different kinds of aquarium thermometers, affix to the inside of the aquarium to monitor water temperature
WATER TEST KIT - API Freshwater Master Test Kit for testing your water parameters regularly
WATER CONDITIONER - Seachem Prime Conditioner to remove chlorine from tap water anytime you are adding fresh water. It is recommend to get an eyedropper to measure or you can poke a small hole in the top of the bottle with a safety pin to allow it to drip out. Use two drops of Prime per 1 gallon of water, or 1 drop per 8 cups.
WARNING: if using any other brand of conditioner, ensure it does NOT contain aloe.
WATER CONTAINERS - you can keep glass or food-safe containers for adding freshwater and collecting wastewater. They should be able to hold a minimum of 8 cups of water for accurate Prime dosing.
BIOLOGICAL ENHANCER - Fluval Biological Booster to help maintain your cycle, comes with measurement cap
AMMONIUM CHLORIDE SOLUTION - Dr. Tim's Aquatics Ammonium Chloride Solution to introduce ammonia to your cycle
BASTER OR SIPHON - kitchen baster for easily removing waste and uneaten food from the aquarium
FUN FACT: axolotl “wastewater” is rich fertilizer for your house plants!
QUARANTINE TUB - large food-safe container with lid, recommend buying two of the same kind for easy transferring
TRANSFER JAR - food-safe jar or container longer than axolotl with sealing lid for transferring your axolotl to and from tubs and the aquarium

Cycling an aquarium
The first step in creating a safe, sustainable environment for your axolotl is “cycling” your aquarium or tank, which means you establish the nitrogen cycle found in their natural aquatic habitat. This initial process can take up to a few months, so be patient, nature takes time!
WARNING: keeping an axolotl in a non-cycled aquarium is toxic and can harm or kill them
The basic science of cycling works like this: an axolotl turns food into waste; waste creates Ammonia; Ammonia creates Nitrite; Nitrite creates Nitrate, and mixing in freshwater manages the Nitrate levels if they get too high.
HOW TO CYCLE AN AQUARIUM
Fill the aquarium with freshwater treated with Conditioner
Add Biological Booster for three days per the instructions, then once a week to help jumpstart and maintain the cycle
If you have an axolotl, keep your axolotl in a quarantine tub temporarily and transfer waste (natural ammonia source) from the quarantine tub to the aquarium with a baster and remove it after 20 minutes. If you don’t have an axolotl yet, add aquatic ammonium chloride solution per the instructions. Once ammonia levels reach 4 ppm, nitrite should spike, then drop and begin to create nitrate.
Test water regularly to find out when your tank has cycled and also to ensure you are maintaining proper water parameters throughout the lifetime of your axolotl. The recommendation is to test weekly or every other week on a consistent day.
Testing axolotl aquarium water levels
It’s critical that you test your aquarium water regularly to ensure you are maintaining your cycle. Environment and proper water parameters are crucial to helping your axolotl grow and thrive.
The below steps use the API Freshwater Master Test Kit. You’ll need to test all parameters each time. When testing, wait 5 minutes and put your test tubes against white paper or hold up to the light to ensure a proper reading. Also, make sure you dry test tubes well in between testing to ensure proper results.
The chart provides a helpful guide on what levels are safe, concerning, and dangerous for an axolotl, while percentages note when to do a water change and how much. If levels are outside of the safe zones, you should temporarily move your axolotl into a quarantine tub, see details further down the page. Visit our FAQs page for additional information on troubleshooting Aquarium water parameters and Healing your axolotl.
NOTE: Water conditioner throws off the results of testing, if you are adding fresh water to your aquarium, wait 3 days before testing.
HOW TO TEST AQUARIUM WATER LEVELS:
TEMPERATURE - use an aquarium thermometer to monitor, ideal temperature is 60-64 degrees Fahrenheit.
PH (potential hydrogen) - add aquarium water to test tube, add 3 drops from PH bottle, cap test tube and turn to mix.
HIGH RANGE PH - add aquarium water to test tube, add 5 drops from HIGH RANGE PH bottle, cap bottle and turn to mix.
GH (general hardness) - add one drop at a time and count the number of drops it takes the water to turn from orange to green. That number is your reading.
KH (carbonate hardness) - add one drop at a time and count the number of drops it takes the water to turn from yellow to blue. That number is your reading.
AMMONIA - add aquarium water to test tube, add 8 drops from AMMONIA #1 bottle, add 8 drops from AMMONIA #2 bottle, cap test tube and shake 5 seconds.
NITRITE - add aquarium water to test tube, add 5 drops from NITRITE bottle, cap test tube and shake 5 seconds.
NITRATE - add aquarium water to test tube, add 10 drops from NITRATE #1 bottle, cap test tube and turn to mix, shake NITRATE #2 bottle for 30 seconds, add 10 drops from NITRATE #2 bottle to test tube, cap test tube and shake 1 minute.

Using a quarantine tub
If you get an axolotl before your tank is fully cycled or your axolotl is having any type of health issue, you’ll want to keep them in a food-safe quarantine tub about the size of a shoebox or larger. To keep ammonia levels down, do 100% water changes daily until the aquarium is ready or the axolotl is fully healed.
WARNING: Because axolotls can jump, the recommendation is to transfer them from one identical quarantine tub to another inside a bathtub or enclosed space.
DAILY TUB MAINTENANCE
1. Fill the tub a little more than halfway with cool water (approximately the same temperature as the water they are in) and add 3-5 drops of water conditioner. If your axolotl is healing, you should also add Indian almond leaf for its soothing and healing properties.
2. Use a food-safe transfer jar with a lid to gently coax your axolotl into, try approaching from the tail. Once they are inside and the jar is sealed, transfer it to the quarantine tub, take the lid off and let them acclimate to the water, and swim out.
3. Move the clean tub with the axolotl into place and add any plants or hides, as well as a small airstone, and cover the tub with a lid.
4. Dump out the other dirty quarantine tub water. Make sure when feeding your axolotl in the clean tub throughout the day, you use a baster to pull out any uneaten food or waste after 20 minutes to avoid ammonia.
Ask the questions!
Here are frequently asked questions by axolotl owners, categorized for easy access.
Find cool stuff…
Discover axolotl websites, social media communities, products, apps, and guides.


